 My Account
 Today, I will show you How To Set Up Yoast SEO Plugin to ranking WordPress website on google. The world of SEO is truly complex and changing. If we start from the fact that Google updates its algorithm 500 times a year we will realize that it is practically impossible to be a true SEO expert. If we do not focus exclusively on that area of online marketing. However, without being true experts we can achieve great results if we learn to properly use the best plugin to position WordPress: Yoast SEO
What does this plugin offer us to Ranking WordPress Website?
The best thing about this plugin is that it combines two fundamental elements of SEO: technical optimization and content optimization.
The optimization of content in real time is really easy to manage. You will only have to choose your keyword, and when creating a new page or post. Once you indicate the keyword in the snippet. The real-time plugin will warn you if you have placed the keyword in the important points (first paragraph, URL, title, images, etc.). As well as other conditions for Google to identify your text as quality content (number of words, size of sentences, etc.)
At the level of technical optimization. The plugin itself will guide you to improve some aspects such as activating pretty links, insert meta tags, control. Which pages are displayed in the search results and which ones are not, make your XML sitemap easily, optimize your RSS, include bread crumbs, integrate your social networks, etc.
How To Set Up Yoast SEO Plugin?
How To Set Up Yoast SEO:
Like any other plugin, we just have to find it to install it on our WordPress page. You can find it by the name «Yoast SEO» or download it on this page wordpress.org/plugins/wordpress-seo/
Once installed we will find in the left bar a section of SEO with its sub-sections: Dashboard, titles and goals, social, XML site maps, advanced, tools, Search Console and Premium.
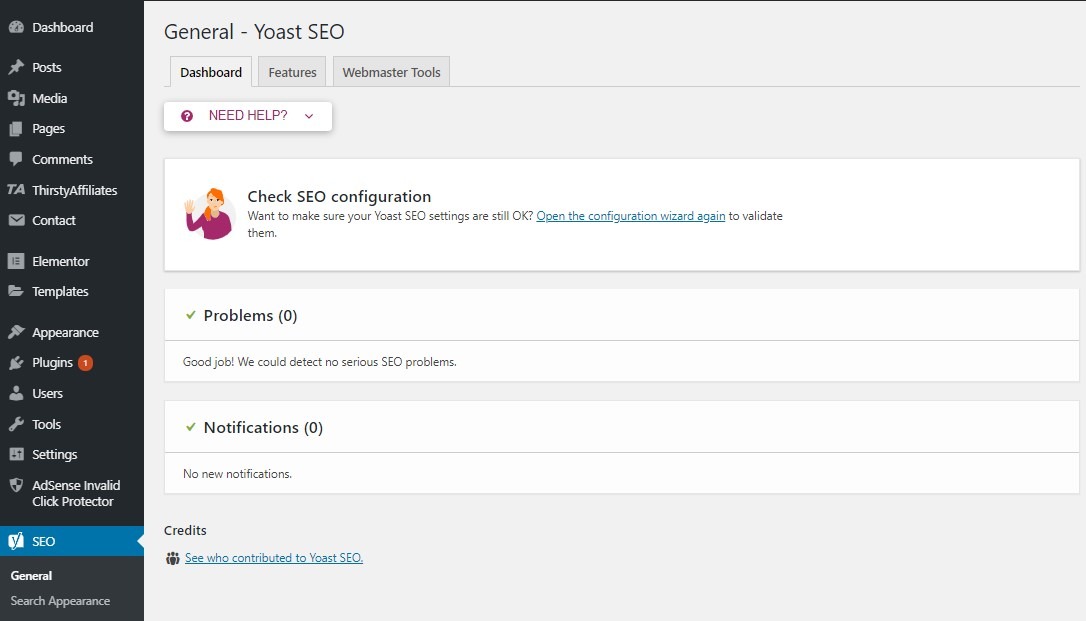
In the desktop area, you will find a space for notifications of problems and warnings that the plugin will automatically notify you. When you see that you do not have something properly configured. It is important that you keep the plugin updated, because once you make changes to collect the changes that are given in the algorithm of Google.
- In the general tab, you will find a button to open the configuration wizard that we strongly recommend … it is the best way to start configuring your plugin to position WordPress! You will also find the link counter in texts that you can put to work to notify you if it is necessary to include more internal links on your website.
- In the characteristics tab, you can indicate if you want to activate and/or deactivate different analysis: readability, keyword, advanced settings, indexing, administration bar, essential content and link counter in texts.
- In the company information tab, you can change the name that by default put Google and even provide an alternative name for you to take into consideration. You can also check if you are a person or a company, and the logo of the same.
- In the Webmaster tools tab, you can configure your Webmaster Tools by entering your Tag Manager, in the case of Google through Search Console.
- In the security tab, you can activate or deactivate the possibility of indexing entries or changing the canonical relationship of each entry.
In the area of titles and goals you will also find several tabs that you can configure:
- In general, you can modify the title separator by different symbols.
- On the cover, you can determine the title and description for the home page.
- In types of content, you can tell Google to index or unindex certain contents (pages, posts, multimedia, etc.) as well as showing or not the goal box of Yoast SEO.
- In taxonomies, Google can be indicated to index or unindex certain contents (categories, labels, etc.) as well as to show or not the Yoast SEO goal box.
- In files, you can tell Google to index or unindex certain contents (authors, files, special pages, etc.)
- In others, you can activate using the meta keywords tag and index or de-index the pages of files.
In the social area you can configure everything related to your social networks:
- In general, you will add the URLs and users of your social networks.
- In Facebook, you can activate or deactivate the option to add Open Graph metadata. Include a default image and add Administrators and Facebook Insights.
- In Twitter, you can activate or deactivate the option to add metadata to the Twitter card and select the type of card (with or without image) by default.
- On Pinterest, you can check your website on Pinterest.
- In Google+, you can add the URL and link the “About” page of your Google+ page.
In the area of XML site maps, you can activate or deactivate this function in addition to:
- In general, see your XML map and indicate the maximum number of entries per site map.
- In the user’s site map, you can activate or deactivate the URLs of the author file of each user.
- In content types, you can add or exclude content from the map (post, page, multimedia …)
- In excluded entries, you can exclude entries from the site map.
- In taxonomies, you can add or exclude categories and labels from the site map.
In the advanced area, you can make some additional adjustments such as:
- In breadcrumbs, you can activate or deactivate and configure in detail.
- In permanent links, you can change URLs and clean permanent links.
- In RSS we can add content to the RSS, something especially advisable if you have «content thieves» to whom you can enter the automatic text (The post %% POSTLINK %% appeared initially published in %% BLOGLINK %%.)
In the tool area we find three functionalities:
- The file editor to modify important elements for the SEO of the robots.txt or the .htaccess.
- The massive editor to quickly modify titles and descriptions of post and pages improving your SEO.
- The import and export tool for SEO configurations of other plugins that we have been able to use before.
In the Search Console area. You will have to authorize Yoast SEO with your personal code to use your access to this Google tool. And from there you will be able to see broken links and solve them with redirects.
In the Premium area, you will find the advanced settings of which I will speak in the next section, as well as the extensions created by Yoast SEO for specific cases such as: Video SEO, News SEO, and Local SEO.
The advantages of Yoast SEO in a premium version
I recommend using the free version of this plugin to position WordPress in the first instance. And once you see its effectiveness, values the hiring of the premium depending on the project you have in hand. Next, I indicate the advantages of Yoast SEO in the premium version:
- It allows you to optimize up to 5 keywords for each page.
- You can see the preview of your page on Google, Facebook and Twitter (and not only on Google as in the free version).
- Analyze the readability of each text and indicate the Flesch Reading Ease score.
- Total control of Breadcrumbs being able to establish the main category for each publication. And determine the taxonomy for each page.
- Identify duplicate content and avoid it with canonical URLs.
- Update every 2 weeks according to changes in the Google algorithm.
- Suggestions of internal links while you write.
- Easily redirects old URLs to new ones.
- Free access to support
- No ads
That’s all. I hope you will know How To Set Up Yoast SEO Plugin. For more information about this plugin to Ranking WordPress WordPress, I recommend this post from its creator: yoast.com/wordpress-seo


 USD $
USD $  BDT ৳
BDT ৳ 