 My Account
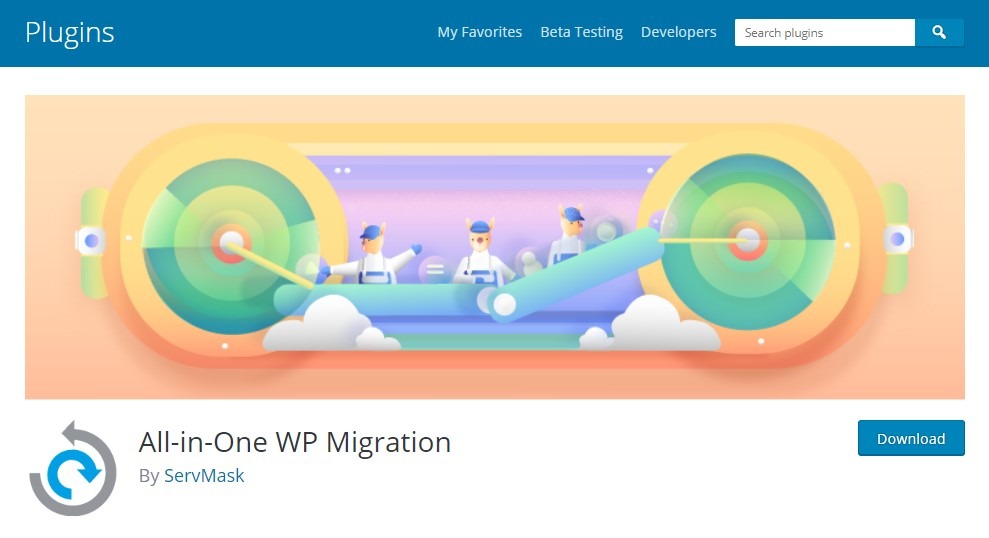
In this article, You will see how to move a WordPress site to a new domain using a plugin. This plugin name is All in One WP Migration. All in One WP Migration is a plugin that facilitates the migration of a site made in WordPress quickly and easily. It allows exporting all the content as inputs, post, plugins, database, images, themes, etc.
To carry out this process you do not need any kind of technical or programming knowledge. since it is done easily and quickly.
This fantastic plugin in its free version allows us to make a backup of an installation. That does not occupy more than 800Mb. For larger installations, we must buy the Pro version, which has special features such as saving backups in the cloud, services such as Google Drive, Amazon S3, Dropbox, OneDrive, Box, Mega, etc. As well as save backup copies in an FTP space that you decide, allowing you the possibility of hosting the same backup copies of your files in different locations.
Next, let’s see all the content of this tutorial
Content
- Why All in One WP Migration?
- Installing the plugin
- Export WordPress Website by All-In-One WP Migration
- Importing the backup to the empty site
- Backups
- Conclusions
Move WordPress Site to New Domain or Hosting
1. Why All in One WP Migration?
It is the easy, efficient and easy-to-use plugin that is supported by more than one million users. It is updated continuously adding improvements and it works great. You do not need to be a programmer and have technical knowledge to make daily backup copies. And in case something goes wrong you can restore them very easily. Such is its importance that free hosting sites like 000webhost already include it by default in their WordPress installations.
2.Installing All-in-One WP Migration plugin
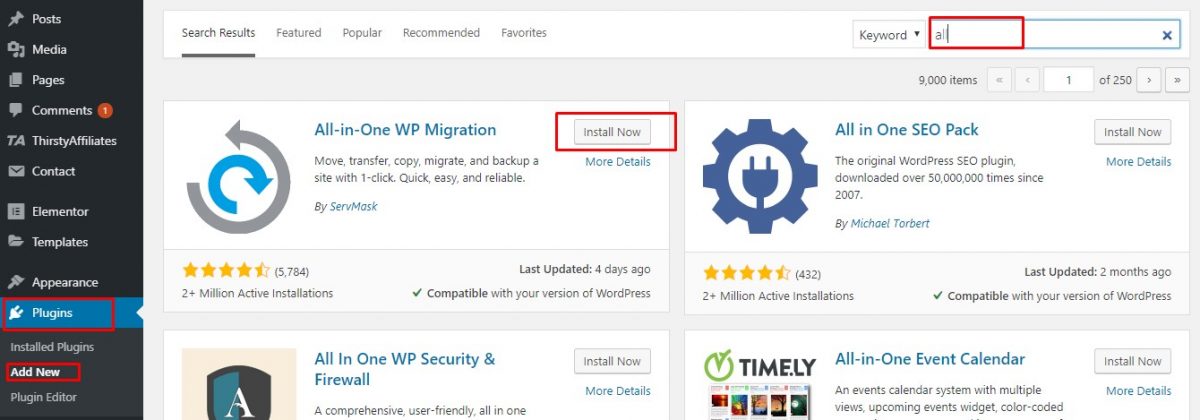
The first thing we must do is install the plugin in both sites, in my case I have it installed in the first site (the one that we will migrate). Let’s see below how to install it on the second site with WordPress which is where we will migrate it.
To do this we must go to plugins> add new and in the search engine we write your name, you will notice that just typing “All” will appear, so now you have to install and then activate.
3. Export WordPress Website by All-In-One WP Migration
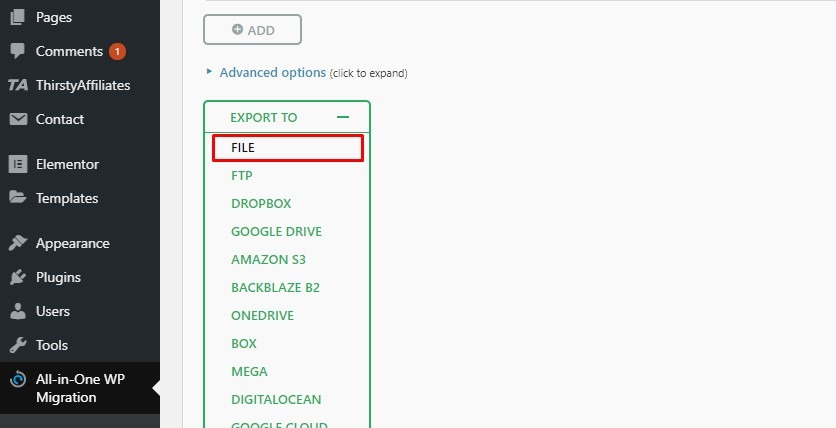
Well, now we must go to the first site to which we will migrate. Then we will create a backup for it in the plugin menu select the export option.
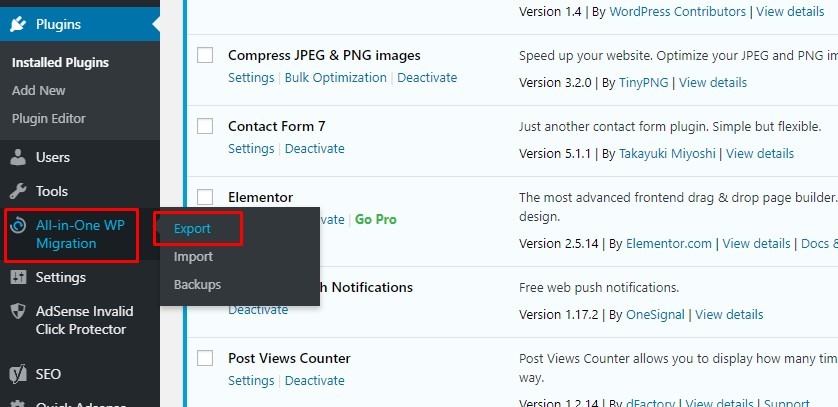
Once here in the export button we will select File that is the option that we can use in the free version of the plugin.
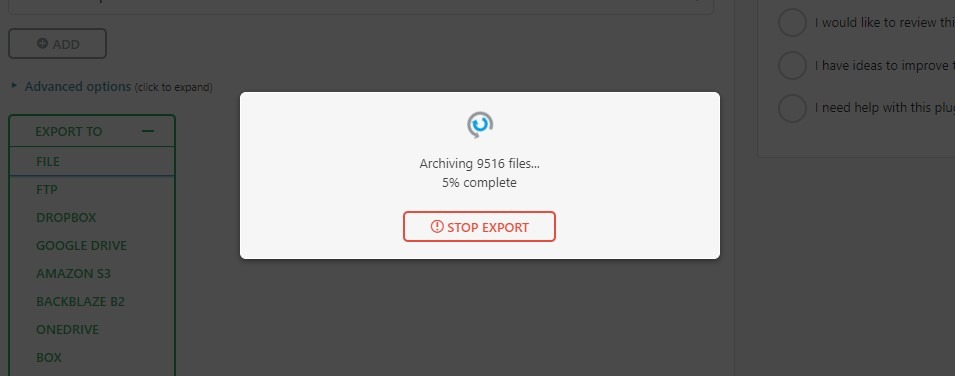
And now we just need to wait for the backup of our site to be done with all its images, plugins, configuration, database, etc.
When finished we just have to click on the download button that will appear. Once done we choose the name and destination where the file will be saved with the .wpress extension that will contain our backup copy and we save it.
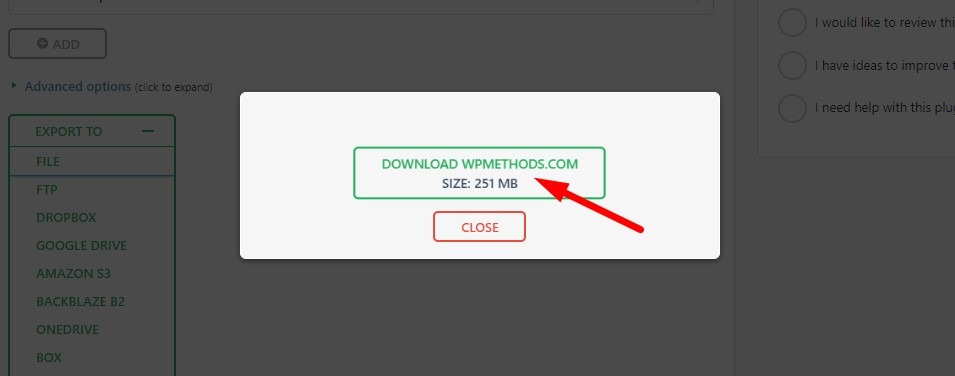
Once saved, we click on the close button.
4. Import Backup Copy – Move WordPress Site
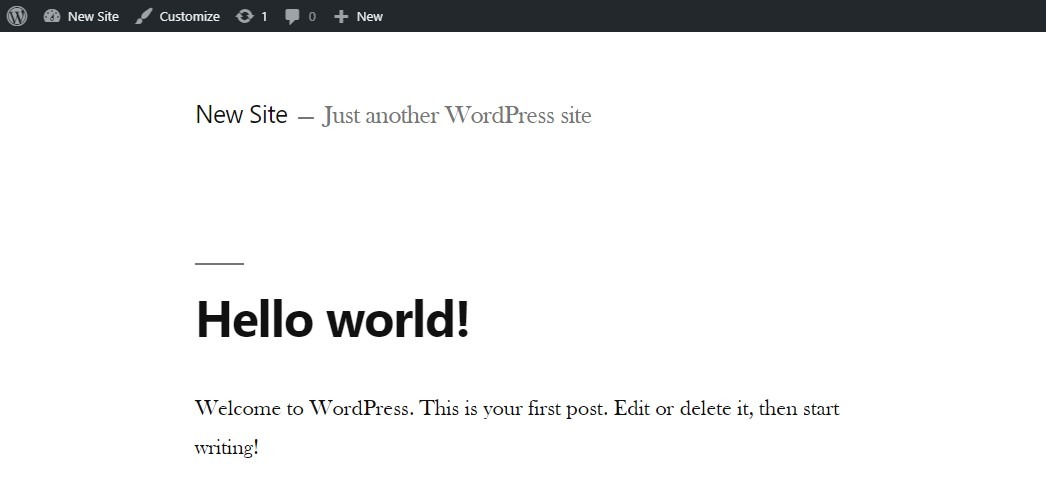
Now you must go to the second site, the one that does not have content, to check it you can click on the home button that has the name of your site and on the button that appears click on Visit site.
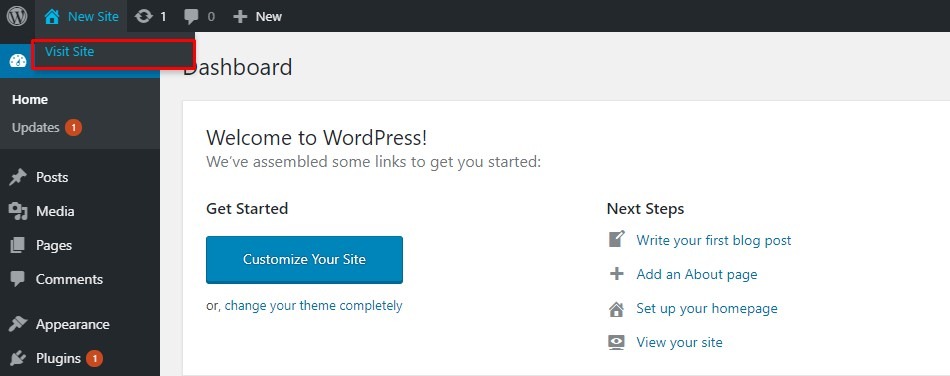
We will see that the default bank page of WordPress appears.
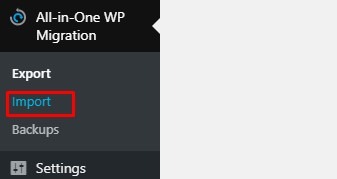
Ok, now we will go back to the All in one WP Migration menu but now we will select the import option.
Select the origin where we will import the backup copy, in our case we will select File.

It is important to note that the file to be imported should not weigh more than 800 megabytes, if we do so we can not do it with the free version and we will have two options. The first is to click on Get unlimited and purchase the Premium version that has a cost of $ 69 USD. And sometimes you can face the Maximum upload file size problem. You can read this article to increase the Maximum upload file size on your WordPress website.
After selecting the file option we must select the file that we generated previously. The plugin will begin the process of uploading the file indicating the progress with a bar.
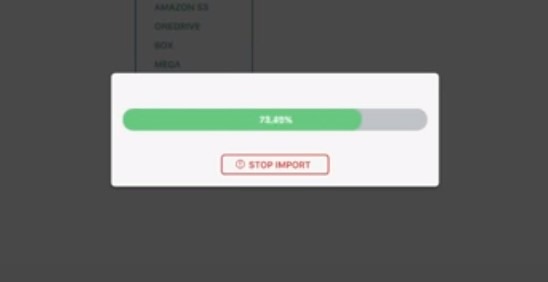
We will wait for the import to finish, without closing the browser, since the import may fail. Once it finishes it will indicate it to us.
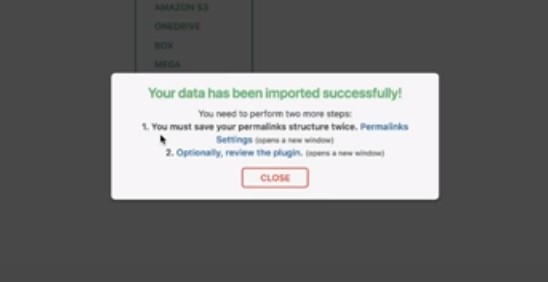
To finish, it asks us to do two more things: save the structure of Permalinks twice and if we want to write a review about the plugin. So we will click on the link Permalinks settings which opens a tab and requires us to log in to the first website (where we export the backup) with the option of Permalinks settings.
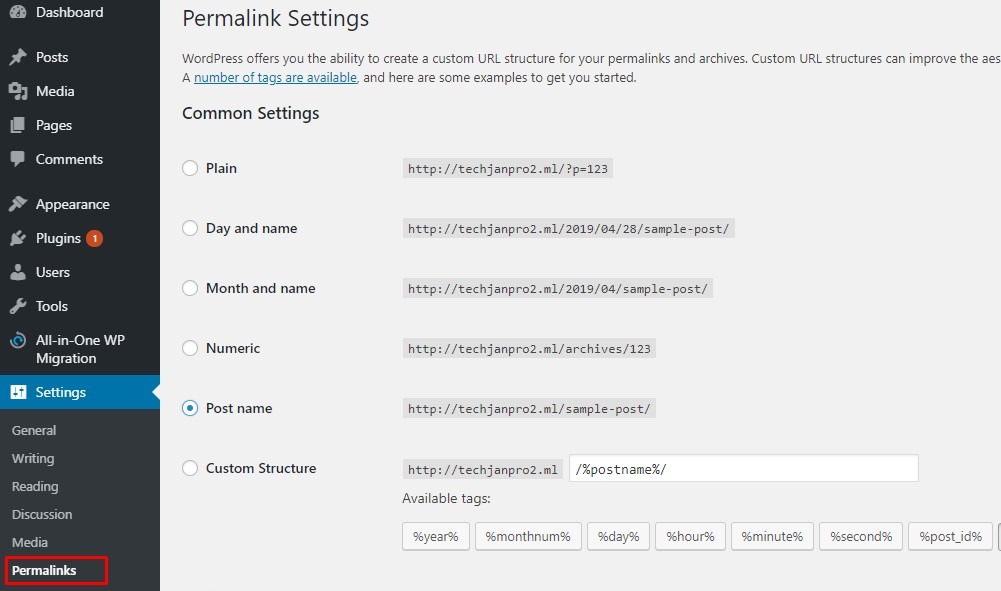
Here we must move down and click on the Save Changes button twice. In this way, we have finished migrating the first website to the destination website. If we click again on the site view button we will see that it is completely the same as the original, it even has pending updates.
5. Security options
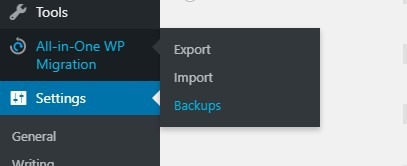
All-in-One WP Migration can also be used to make regular backup copies of your website every certain time based on the activity you have. You can see these copies in the backup option of the plugin menu.
By clicking on it, we will have access to the complete list of all the security copies we have made.
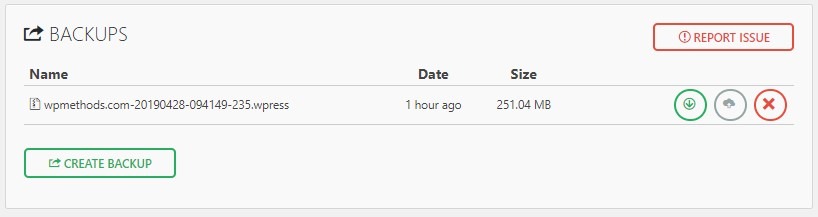
From here, and with the buttons located to the right of each listed backup. We can download, restore or delete each backup copy. So if, for example, our site has failures. But it worked well on a certain date in which we made a backup. It will only be enough to restore the latter to recover all the functionality.
However, keep in mind that backup copies occupy disk space. And if you have too many you can occupy all the space that your hosting provider gives you. So it is recommended that when you have many downloads the oldest ones and then delete them. In this way, they will no longer occupy space in your hosting. But you will have them offline in case you ever need to restore them using the process that we already saw. I recommend that you only have one per week inside the site. The rest download and save them in a safe place on your computer or on an external hard drive.
6. Conclusions – WordPress Migration
You can use All in one WP Migration to move WordPress Site to New Domain or Hosting. Save them as support in case your website ever shows errors or was deleted from the server for some reason. But you can also use it to migrate a website made in WordPress from one server to another.


 USD $
USD $  BDT ৳
BDT ৳ 